On Fujifilm X cameras you can define your own custom settings. These quick settings affect how your JPG files turns out (they won’t affect the rawfiles). So if you’re looking for some how-to tips on settings for color or black & white images, then keep on reading…
Owners of Fujifilm cameras like the X-Pro1, X100S/X100T or X-T1 often ask me two things: 1) Do I use the custom settings to tweak the JPG files in camera, or 2) Do I use the rawfiles for further work. The answer is both, but it depends what the images are for. For personal use I’m often happy with the JPG file. But for commercial client work, I always – without exception – use the rawfiles and develop them further.
RAW+JPG
I always shoot RAW and max quality JPG for two reasons:
1) If I’m not happy with the JPG, I can work on the rawfile which contains a lot more information.
2) On Fujifilm cameras you can’t zoom as far into a rawfile (on the back of the camera) as you can with a JPG. All rawfiles contains an embedded JPG file, and Fujifilm haven’t made theirs in max resolution. So shooting RAW+JPG makes it possible for me to zoom further into the picture to check sharpness out in the field, than shooting in RAW only.
Custom settings
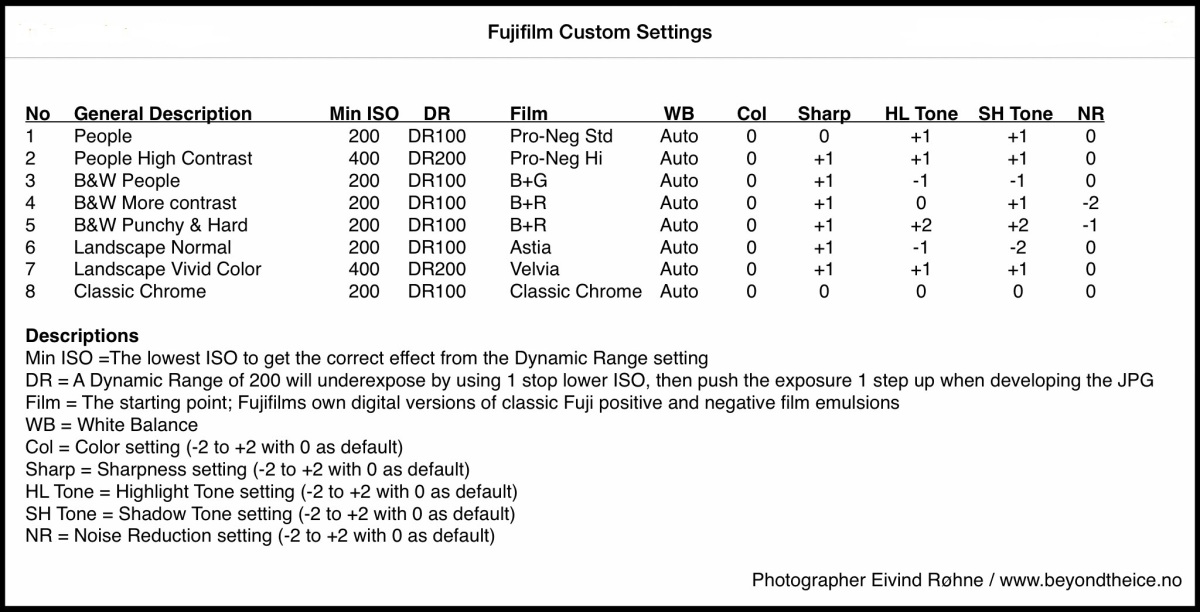
On my X-T1 I have saved 7 custom settings (that’s the maximum number you can save). First you choose a “film emulsion” as a starting point, and then you can change parameters like Highlight Tone and Shadow Tone to tweak the look further. These parameters can be adjustment from -2 (low) to +2 (high). Think of it like adjusting the volume. You get more highlight/shadow the higher the number. So the shadows are lighter at -2 than they are at +2, and the highlights are darker at -2 than they are at +2.
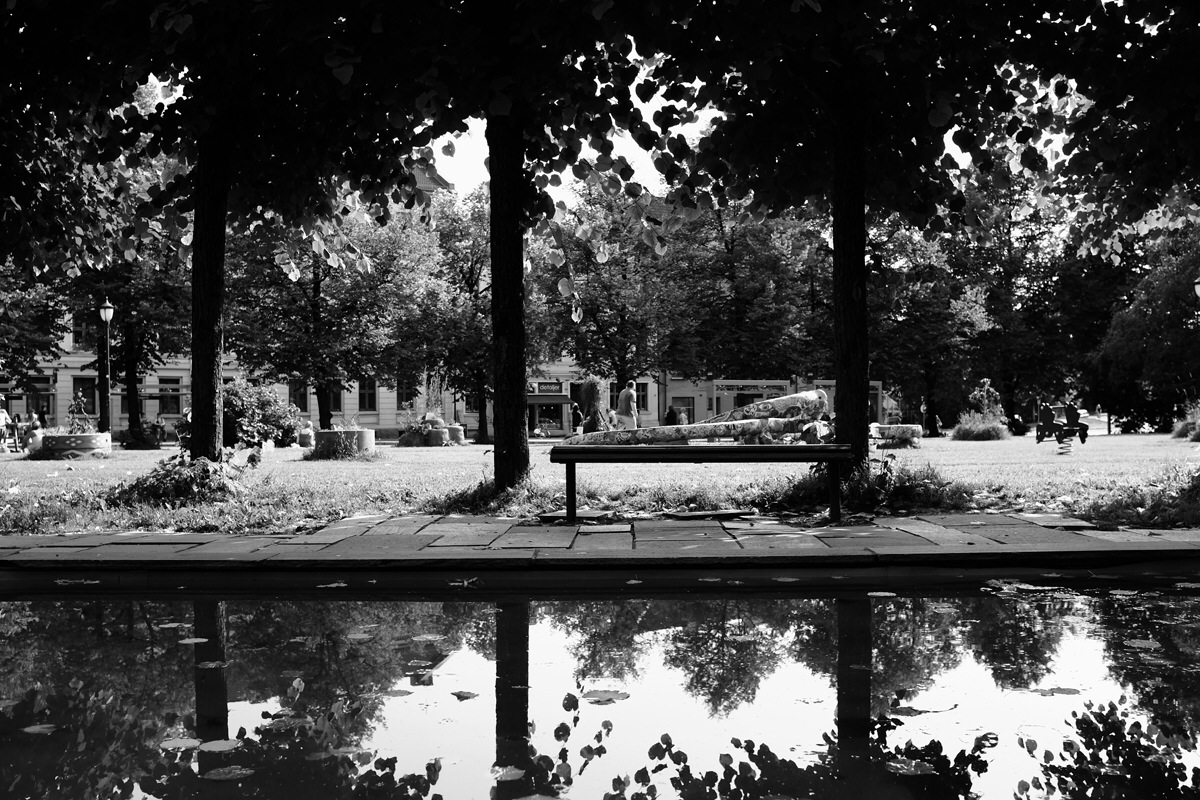
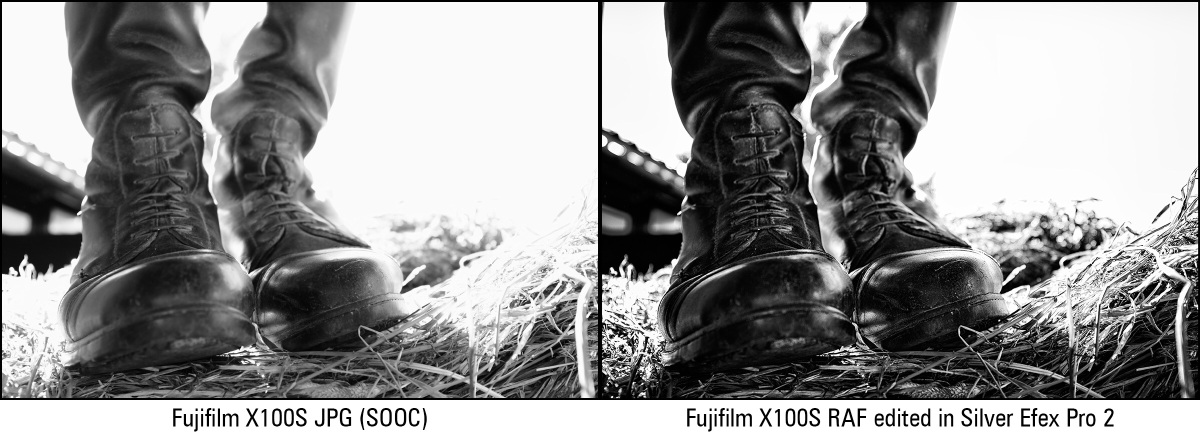
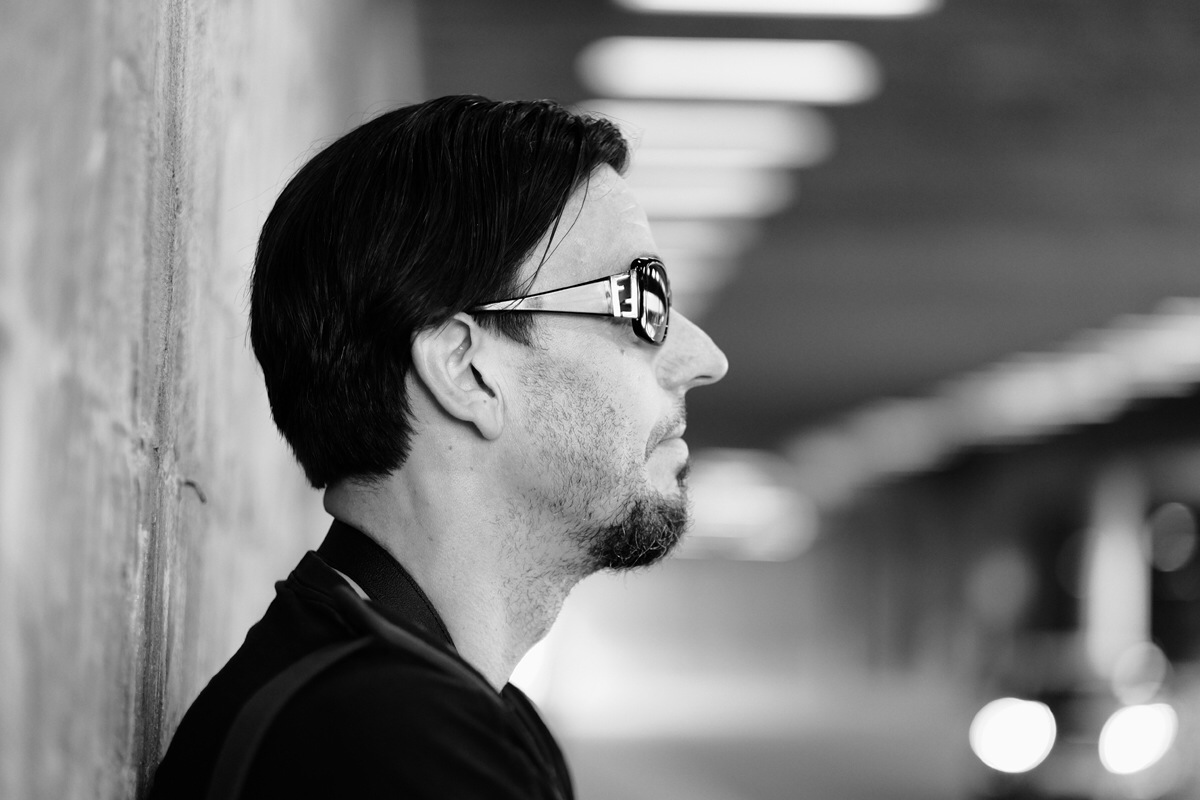
High contrast with deep blacks and very white highlights
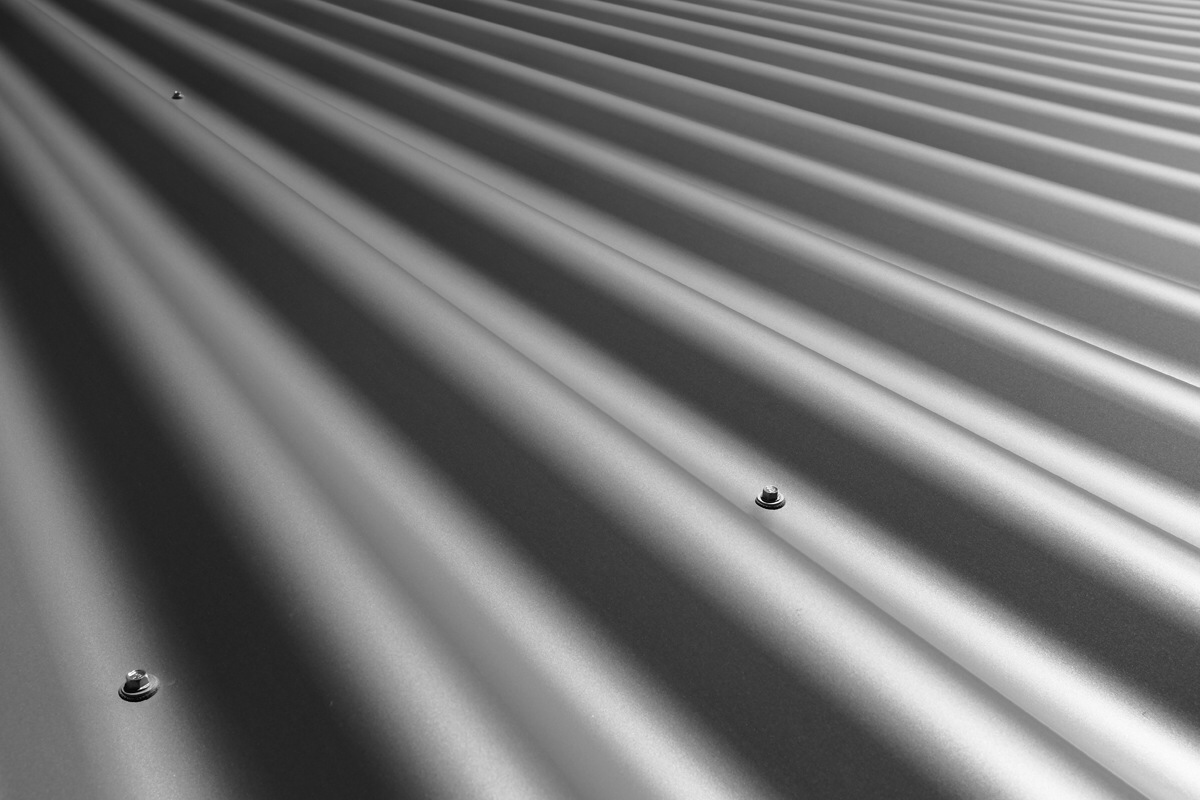
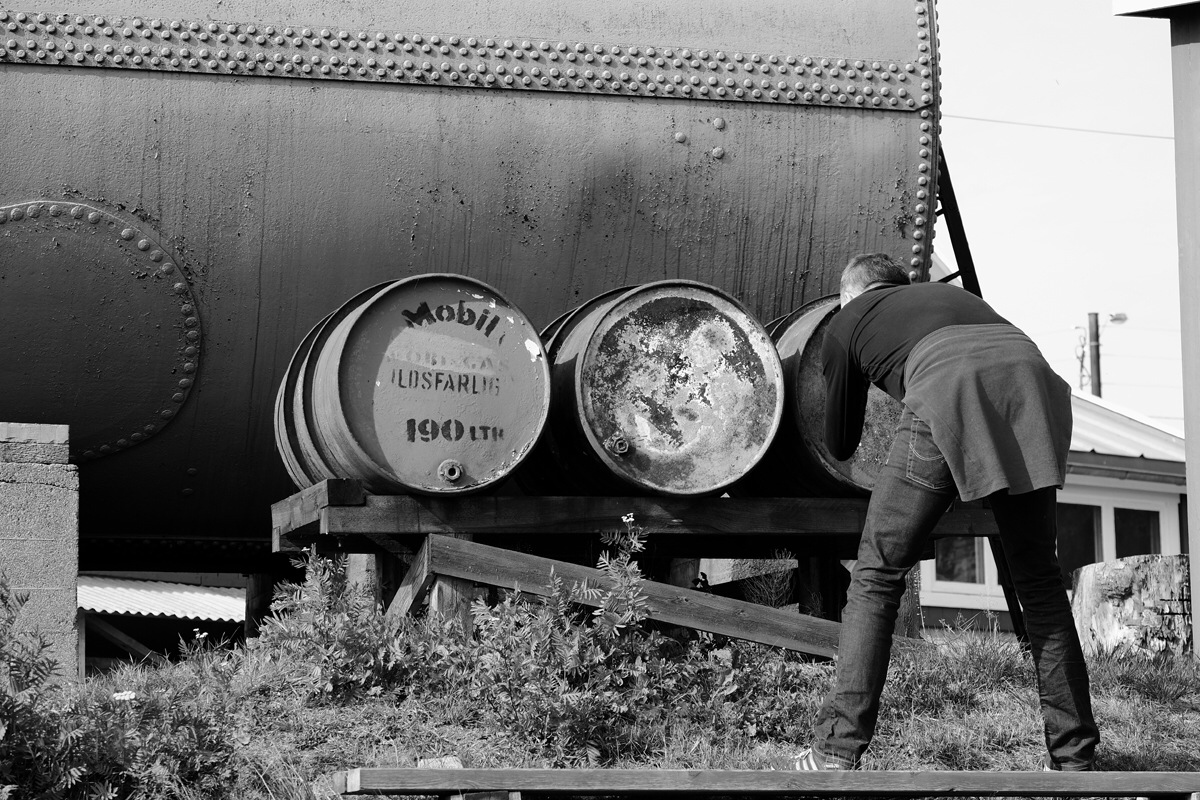
Soft contrast with smooth transitions between shadows and highlights
What settings you like to use is all a matter of personal taste, and there’s no right or wrong. You have to try different settings, and change them if you’re not satisfied with the results.
These settings have given me color and b&w images that I like, and I prefer a bit of punch & oomph. In the recent firmware version 3.00, Fujifilm gave us the new Classic Chrome, and that has become somewhat of a favourite. So far I’ve kept all parameters at 0 (default) for CC, but that may change over time.
Workflow
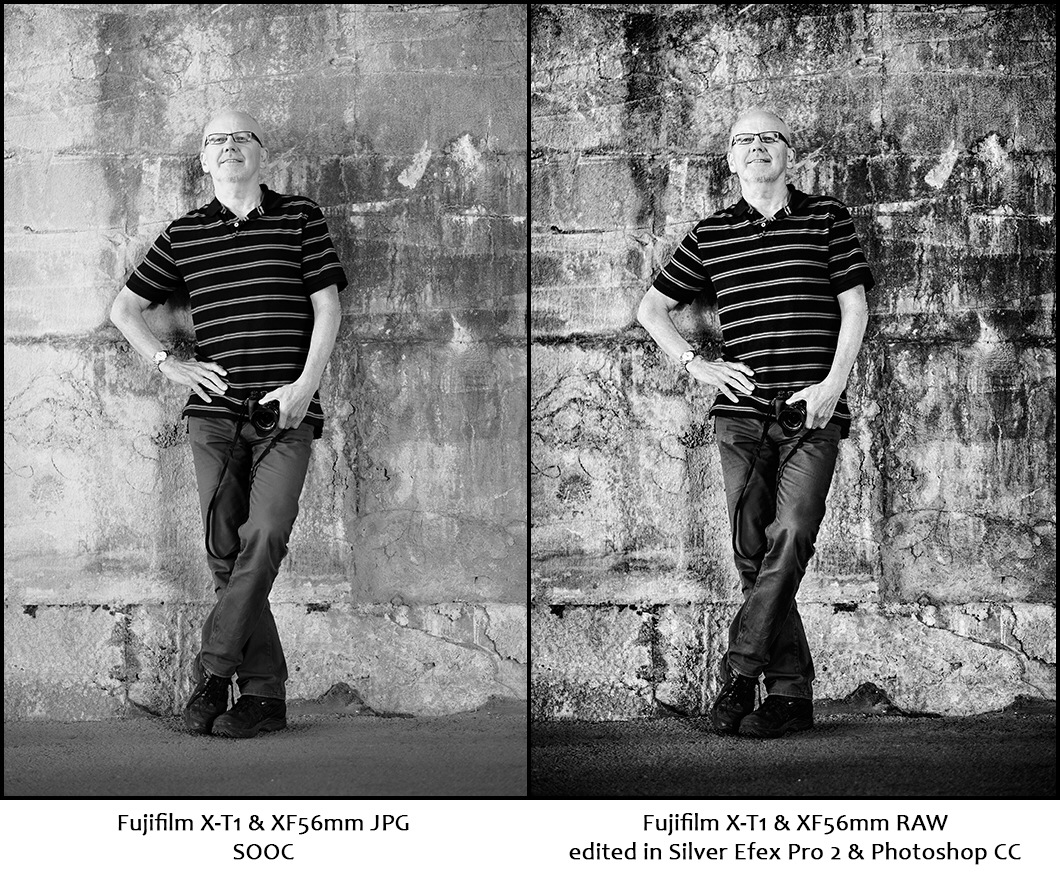
I always try to do as much as possible in camera (SOOC). But when I can’t get the picture all the way there, I develop the rawfile in Capture One Pro 8, and then do the black & white conversion in Photoshop and Silver Efex Pro 2. SEP2 is a very good plug-in for Photoshop, and an advanced digital darkroom for black & white images.
Settings
But ‘nough talking, here are my favourite settings as of today (PS! The table shows 8, but there’s only room for 7 in the camera). Hope they can be of use to others as well. Feel free to tell me what you think, or share your own favourite settings in the comment section here.

This is excellent Eivind! Great post!
My B&W setting is exactly the same as your “punchy and hard” It’s perfect!!
And Classic Chrome is so great, but I always add some clarity and contrast in LR.
/Jonas
Ah, cool, so you have the same setting for your B&W work! That punchy & hard setting must be one of the best ever, and I can say that because I’ve seen how many great B&W shots you’ve made with it Jonas! You got some real good work mate.
Have to try your tips for the CC post work as well!
Cheers,
Eivind
My suggestion: at that punchy bw setting in my X100S I leave HL to 0 and sharpness to 0. For colour and winter sunny days I prefer Velvia, SH +2, Color -2, Sharp +1, WB Shade.
Cheers,
Carlos C
That’s some good suggestions Carlos! I’ll definetely try them out.
Thanks!
Cheers,
Eivind
Thank you for a really helpful post on this theme. I haven’t used the custom settings on my XT-1 yet, but I’ll definitely try it out now. I have a little question a bit on the side of the topic. I see that you use Capture One Pro 8 to develop raw-files. I have also seen other photographers that use Fuji do the same. Personally I have only used Lightroom, and think it does a decent job. Is it just for personal taste, or do Capture One Pro do a better job?
Robert 🙂
My pleasure Robert, glad you liked it!
I’ve tested both Lightroom (latest version), Adobe Camera Raw (latest version 8.7.1) and Capture One Pro 8 on Fujifilm files for over 1.5 years now, and there are at least three things where C1 is superior: Sharpening (LR/ACR really suck at this on X-Trans files, and produce mosaic/wormlike patterns), rescuing highlights, and pushing the shadows.
I’m not trying to convert anyone into using anything, and I recommend people to use what works for them, and give them satisfactory results. But when people ask, they deserve an honest answer. Sadly, when people ask about software and raw converters in forums and especielly in Facebook groups, the get called “pixels peepers” and other “dirty words” by lots of people (“pros”). Anyone likes to use good lenses, great cameras, the best tripods, even finding a good camera strap is something people spend their time on. And they should. But don’t mention the software, or you’ll get decapitated… 🙂
I’m working on a C1 blogpost (kind of like a mini-review), and I’ll touch upon a few of these issues there.
Cheers,
Eivind
Haha, I’ve seen the “Pixels peepers” comments. Really appreciate your honest answer. I’ll download the C1 tonight and try it out. Thank you 🙂
Cheers!
My pleasure Robert! 🙂 And by the way, I’m proud to be a peeper…. 🙂
Great stuff! I always shoot raw+jpeg but since CC came i use the jpegs more then ever!
my 2 fav custom settings
CC,H-2,S-1,Color 0,Sharp +1,NR -2,DR Auto,WB custom
BY,H+1,S+1,Sharp+1,NR-2,DRAuto
I have never really edited Jpeg always Raw files. If you need to make some small adjustments do you just use the jpeg?
Thanks for the feedback and suggestions Mike! I never adjust JPGs. If I’m satisfied I use them sooc, but if I want to tweak a bit I always use the raw. Old habits die hard…. 🙂
Hi Eivind, thanks for the post, I’ll check those custom settings. I have one question though, I’m, like you, shooting RAW+Jpeg, which I never did on my Nikon where I shot only RAW. As you said, the jpeg are so good, that they do the job most of the time. Having the RAW is “just in case”. Since I don’t shoot professionally, but I’m a photo retoucher by trade, I “need” the RAW. Now my question is for the workflow for importing all those files and managing them. I’m still struggling with this since i never shot with both jpeg and raw. What’s your workflow with this? I use Lightroom but I also have Capture One 7, which I don’t use much. I needed it for some Phase One shot one of our supplier had but I think Lightroom works better and I’m more used to it. Haven’t tried the raw in Capture One though I hear it’s definitely better for fuji files. Anyway thanks!
Hi Jeff!
Yeah, shooting RAW+JPG was a new way of working for me too. Prior to using Fujifilm X cameras, I already had a workflow using Adobe Bridge, Adobe Camera Raw and Photoshop, with a standard folder structure for every job. It turned out this matched working with Sessions in Capture One extremely well. So I just built my existing folder structure into a Capture One template, and the whole setup generates automatically when starting a new session. Inside the folder where I keep the rawfiles (the “Capture” folder of C1, but I call it “02 Raw”, I have a subfolder called JPG (also automatically generated).
When I import from a memory card to the raw/capture folder, I also import the JPGs. Then I rename all files, and the RAW and JPG get the same name except (with different extensions of course). After doing that, I simply move (drag’n’drop) all the JPGs into the JPG folder. Takes just a few seconds, and keeps everything neat and organized.
And yeah, in my opinion, Capture One definetely gives way better technical results from X files.
But I still use the Adobe Bridge & ACR way of working too, it all depends on what I am doing, and which camera I’m using.
So you’re a retoucher! Cool! Do you have a website or something I could have a look at?
Cheers,
Eivind
Eivind, unfortunatly all my work is for my employer and I don’t have the rights to the images, so I don’t have anything to show. I work in the shadows where my work is best when nobody notices it:-)
Haha! So you’re kind of like the caped crusader or something, eh!? 🙂 Cool!!
Hi Eivin,
thank you very much for the post – very helpful indeed for a Fuji-novice like me!
I am also very much interested in your workflow. Having to mark my JPGs manually to be able to put them in a separate folder is a pain in the a.. and kept me from shooting Raw+JPG.
So if I understand it right – you have created a template as well for Bridge as for C1 that does that automatically for you?!
I am not a computerfreak, so – how did you do that?
Thank you in advance
Sabine
Hi Sabine!
Glad you liked the post. I’m thinking about writing a blogpost to describe my workflow more in detail. But the short version goes like this. I have a folder for every job with some subfolders. One of those is named “Raw”, and I copy all files from the memory card there, both JPGs and RAFs. That rawfolder also has a subfolder named “JPG”. I use Bridge for some sorting and renaming work, and separating RAFs from JPGs is very easy both in Bridge and C1. You just click the JPG filter in Bridge, select all with CTRL+A, unclick the JPG filter to see all files and folders again, and drag and drop the selected files (which then only consist of JPGs) into the JPG folder. Takes just a couple of seconds. I do this after having used PhotoMechanic for culling and giving star ratings to files, but more about that in a future complete workflow post.
Hope that helps!
Cheers,
Eivind
Hi Eivind! Live can sometimes be so easy!! I am using bridge for quite some time, but I never really saw this JPG option there …. Thank you so much !!Looking forward to your workflow-post. Kind regardsSabine
Date: Thu, 10 Dec 2015 13:11:41 +0000 To: backes7@hotmail.com
I’m just glad I could help!
Cheers,
Eivind
Just wanna input on few general things, The website design is perfect, the content is rattling good : D.
Hahaha! Thanks!! Glad you like it. Been hectic so I haven’t had time to post as often as I’d like to, but soon…. 🙂
Cheers,
Eivind